Introduction: Electronic Speed Controllers (ESC) are the unsung heroes of the RC world, responsible for the smooth operation and control of your electric motors. Setting up your ESC correctly is crucial for ensuring peak performance, responsiveness, and longevity of your RC model. Whether you’re a seasoned pilot or a newcomer, this guide will walk you through the process of setting up your ESC with practical examples.
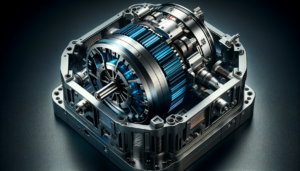
Understanding Your ESC: Before diving into the setup, it’s important to understand what an ESC does. It regulates the power from the battery to the motor, controlling speed and direction. Familiarize yourself with your ESC’s specifications, such as its current rating and voltage, to match it with the appropriate motor and battery.
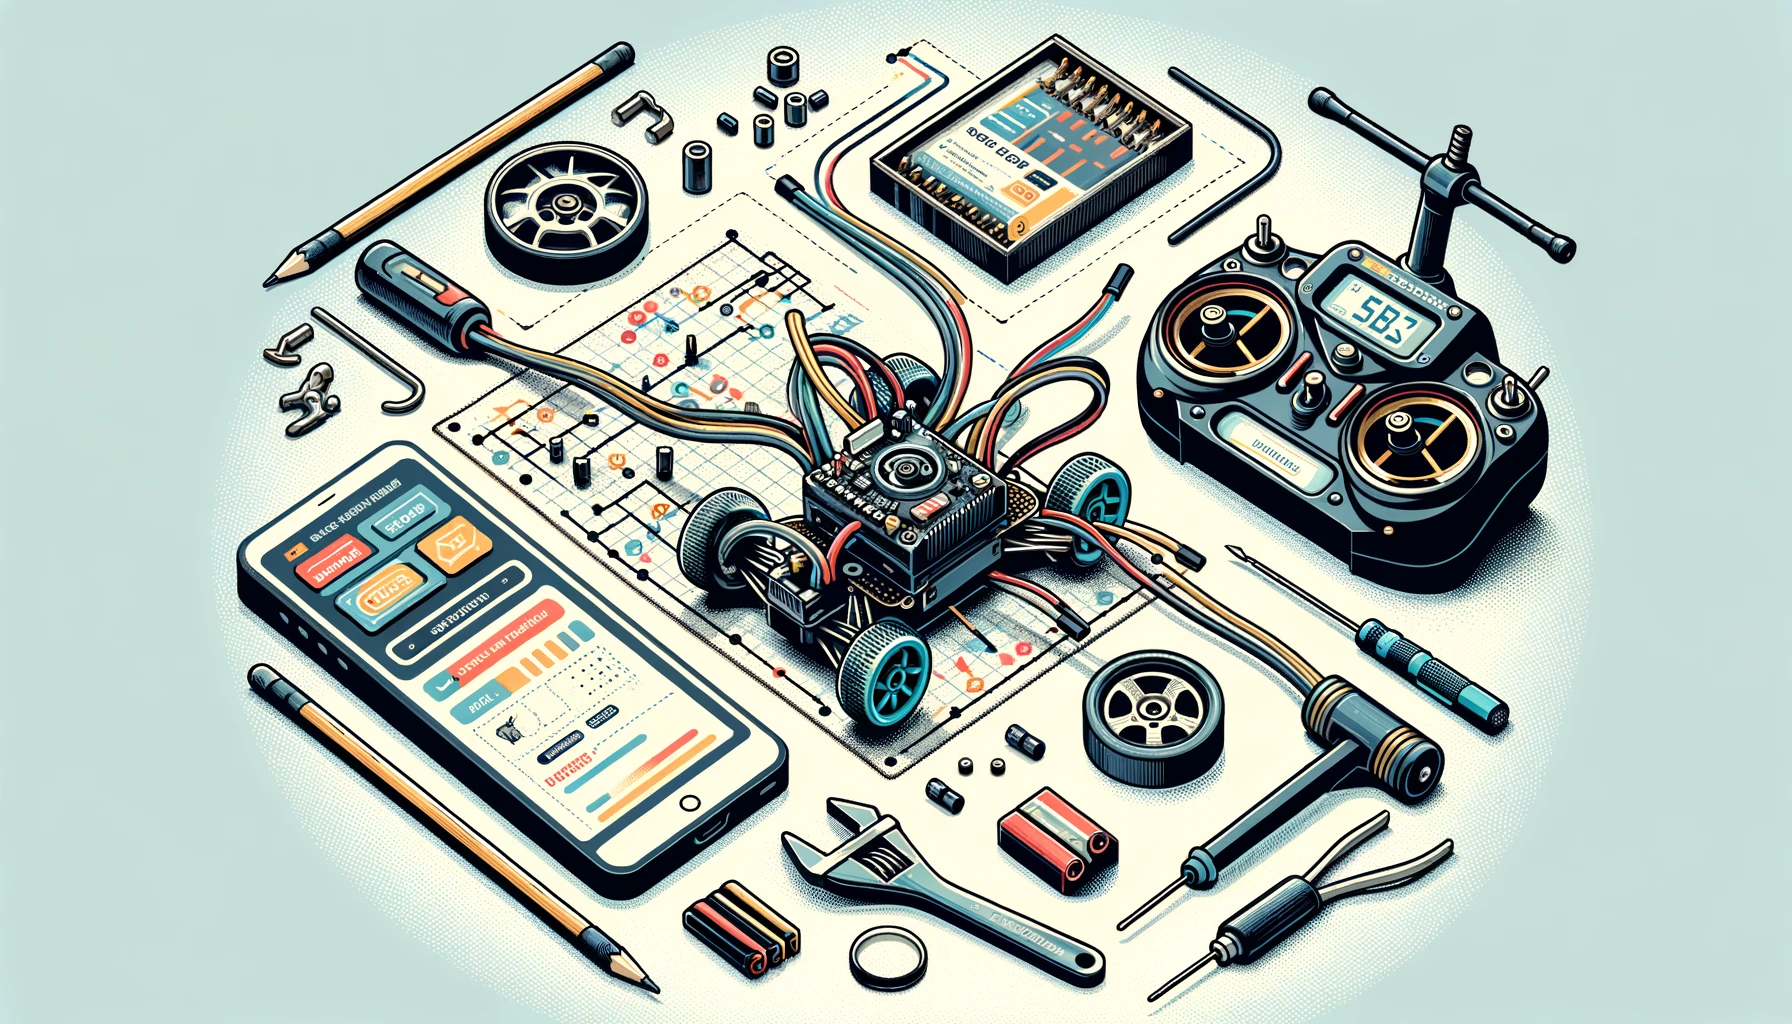
Required Tools and Materials:
-
- Your ESC and its manual
-
- Compatible motor and battery
-
- Soldering iron and solder
-
- Heat shrink tubing
-
- Screwdrivers and wrenches
-
- Programming card or software (if applicable)
Step 1: Soldering the Connectors: If your ESC doesn’t come with pre-soldered connectors, you’ll need to attach the appropriate ones for your motor and battery. This ensures a secure and efficient connection. Heat the connector and wire with a soldering iron, apply solder until it flows smoothly, and then slide on the heat shrink tubing to insulate the connection.
Practical Example: When soldering a bullet connector for a brushless motor, ensure that you’ve checked the polarity and the wire gauge to prevent any short circuits or power losses.
Step 2: Calibrating the ESC: Calibration aligns the ESC with your transmitter’s throttle range. Follow the manual’s instructions, which usually involve setting the transmitter’s throttle to the highest position, powering on the ESC, and then lowering the throttle to the lowest position.
Practical Example: For a racing drone’s ESC, calibration would involve using a specific sequence on your transmitter to enter calibration mode, increasing throttle to maximum, and then decreasing to minimum, confirming each step with LED signals or beeps.
Step 3: Programming the ESC: Many modern ESCs can be programmed for different parameters like braking force, acceleration, and battery type. Use a programming card or connect the ESC to a computer with the required software.
Practical Example: If you’re setting up an ESC for a rock crawler, you may want to program it for high torque and low-speed precision, whereas for a racing car, high-speed and quick acceleration would be preferred.
Step 4: Testing and Fine-Tuning: After setup, test your RC model in a safe area. Monitor the ESC’s temperature and performance. Adjust the settings if necessary, and ensure the motor’s responsiveness is as expected.
Practical Example: If your RC boat is not reaching the desired speeds, you might need to fine-tune the ESC settings for higher output or check if the battery delivers the required current.
Conclusion: Setting up your ESC is a blend of technical know-how and art. By following these steps and understanding the principles behind each one, you’ll ensure that your RC model operates at its best. Remember, the ESC setup can make or break the performance of your vehicle, so take your time and do it right.
Final Thoughts: With your ESC now correctly set up, you’re ready to take full control of your RC model. Embrace the process, and don’t hesitate to seek help from the RC community if you hit a snag. Happy controlling!